


Show how to use CGDI MB to Swap Mercedes W211 EIS.
Connect CGDI MB device to the Mercedes W211 EIS, open CGMB software.
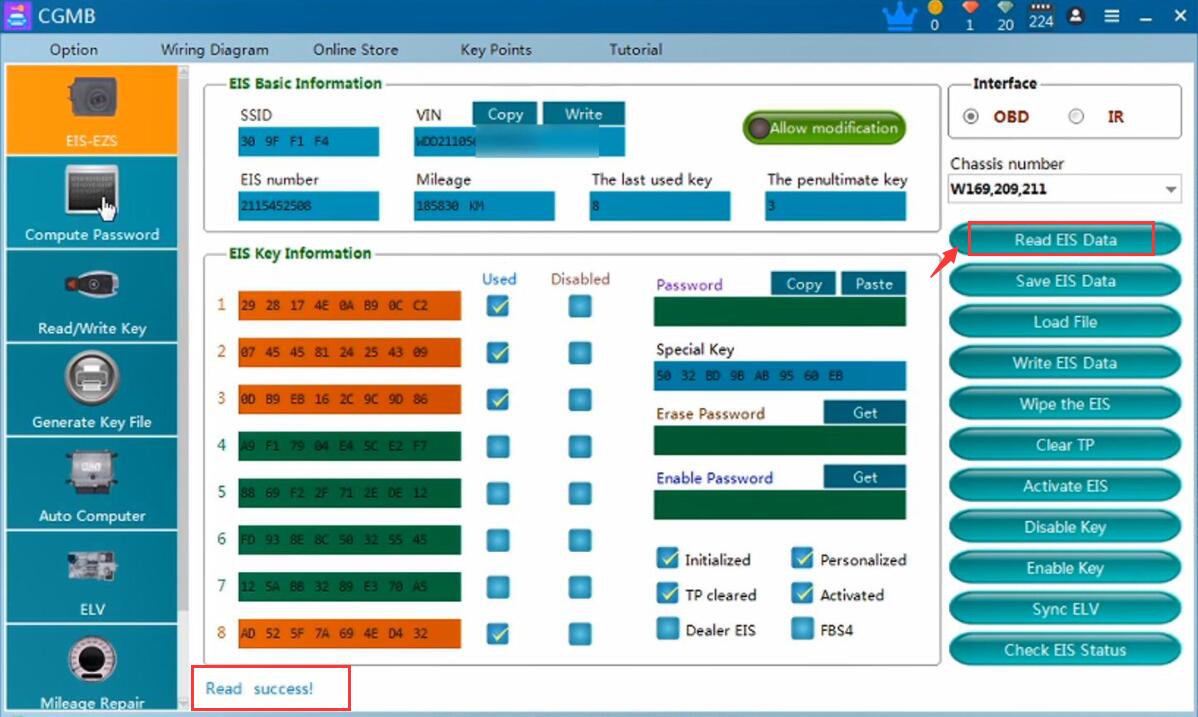
Click on “Read EIS data”.
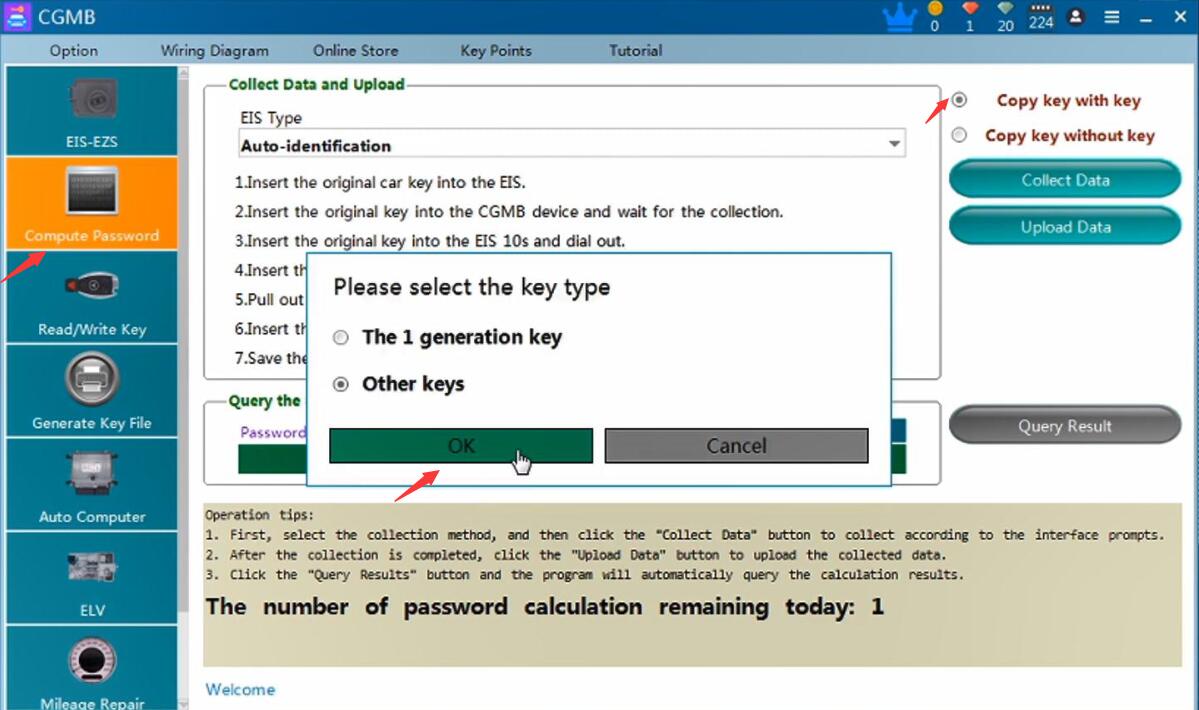
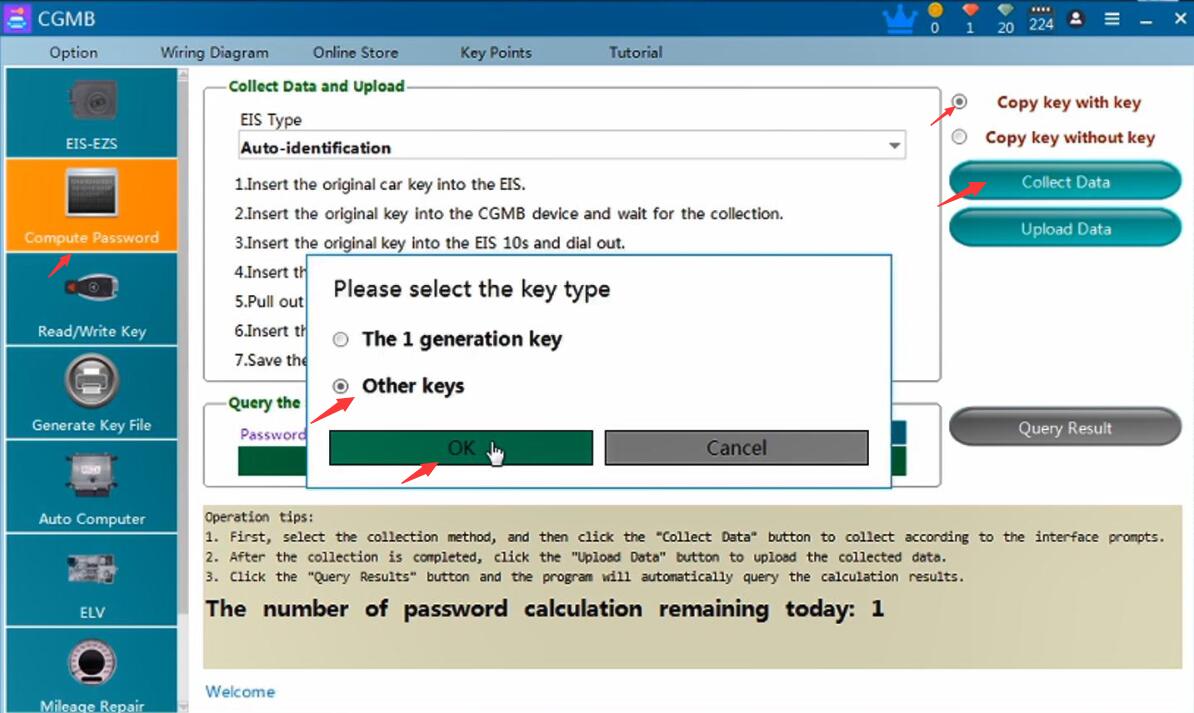
Click on “Computer Password”, then tick off “Copy key with key”, then select the key type “Other keys” and click on “OK”.
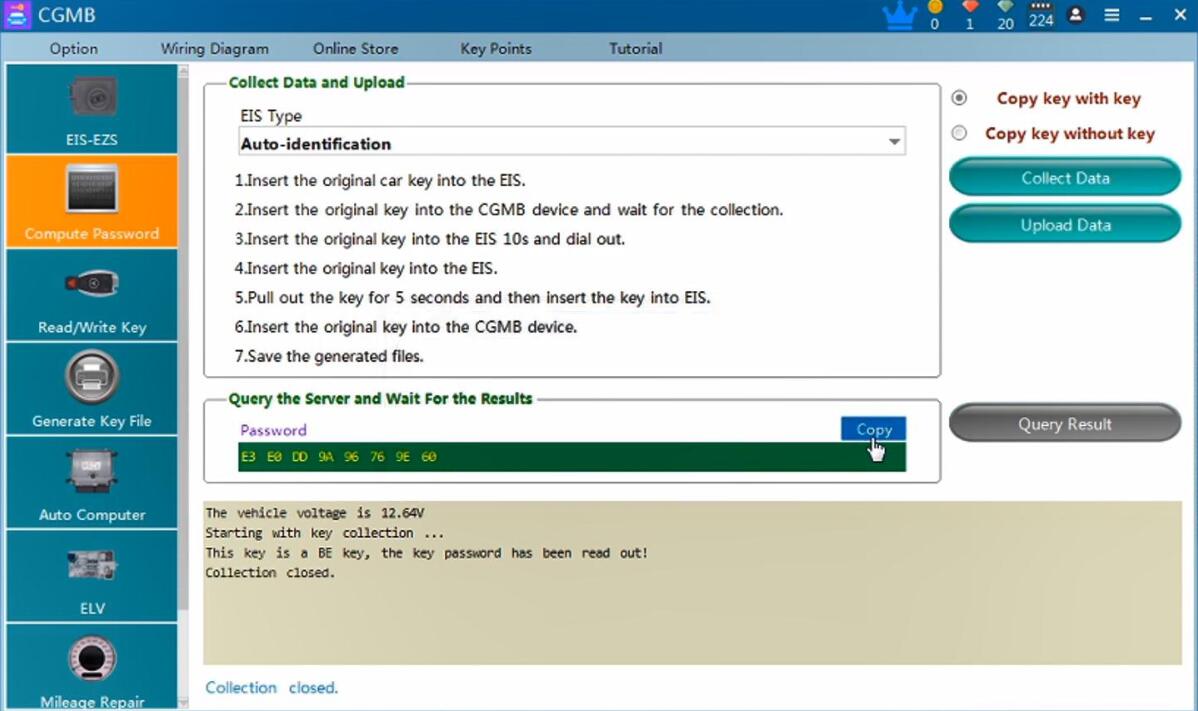
it will pop up “Please insert the key into EIS and click OK!”, then it says “Please insert the key into the CGMB device and click OK!”; then “This key is a BE key, the key password has been read out!”.
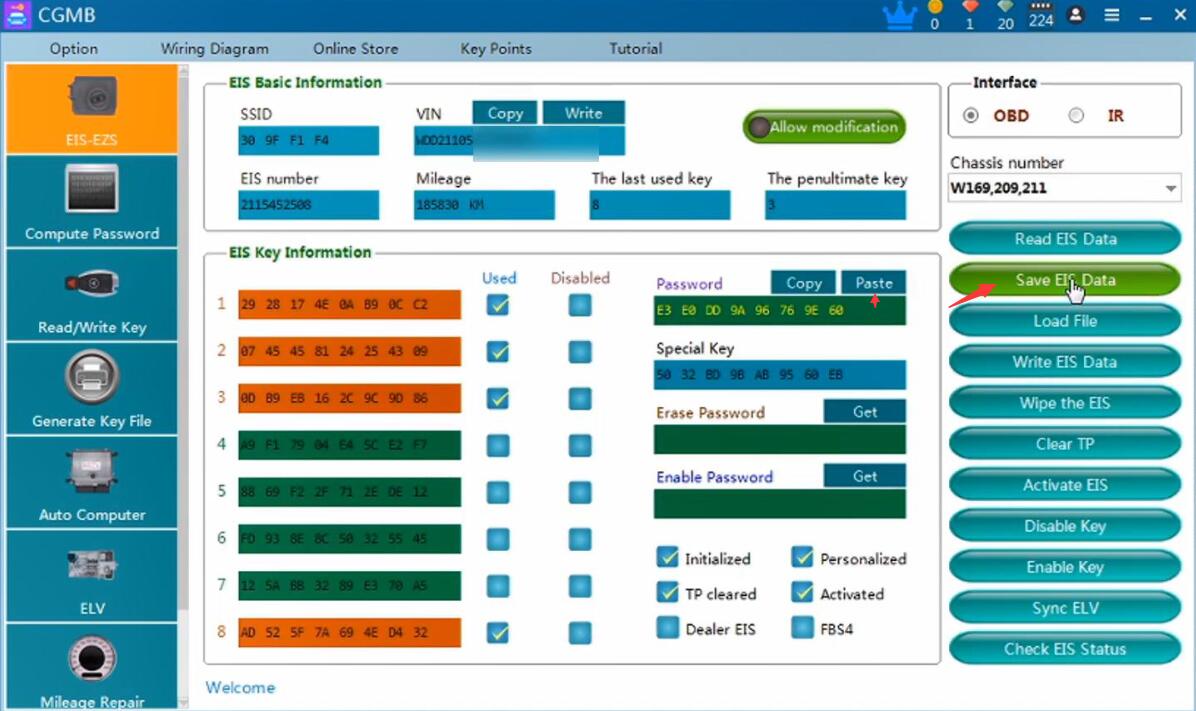
Enter “EIS-EZS” and click on “Paste”, then “Save EIS data”.
Reboot Benz Monster software, click on “Read EIS data” again.
Then enter “Computer Password”, tick off “Copy key wit key” then “Collect Data”, then “other keys”.
Click on “OK” and then “OK”.
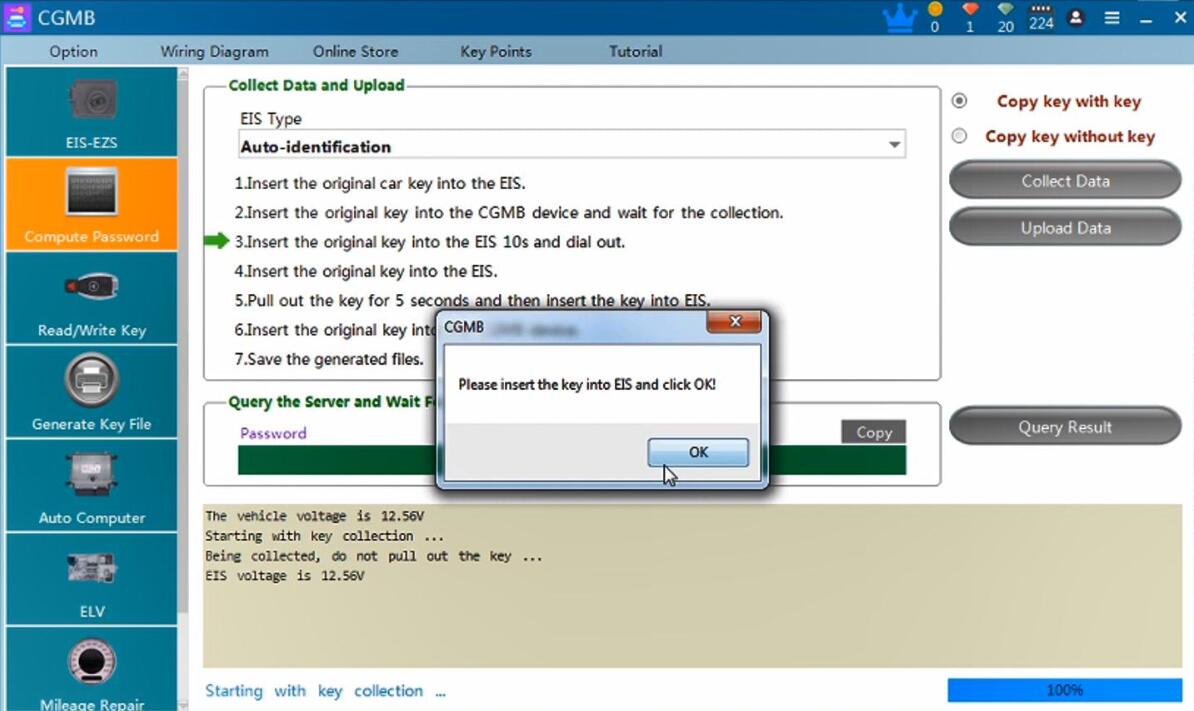
Starting with key collection…
Please insert the key into EIS and click OK!
Then, 10 seconds later, it says “Please pull out the key from the EIS, and then click OK!”.
Then, please insert the key into the EIS again and click OK!
Then, pull out the key for 5 seconds, then insert the EIS, then click OK!
Then, please insert the key into the CGMB device again and click OK!
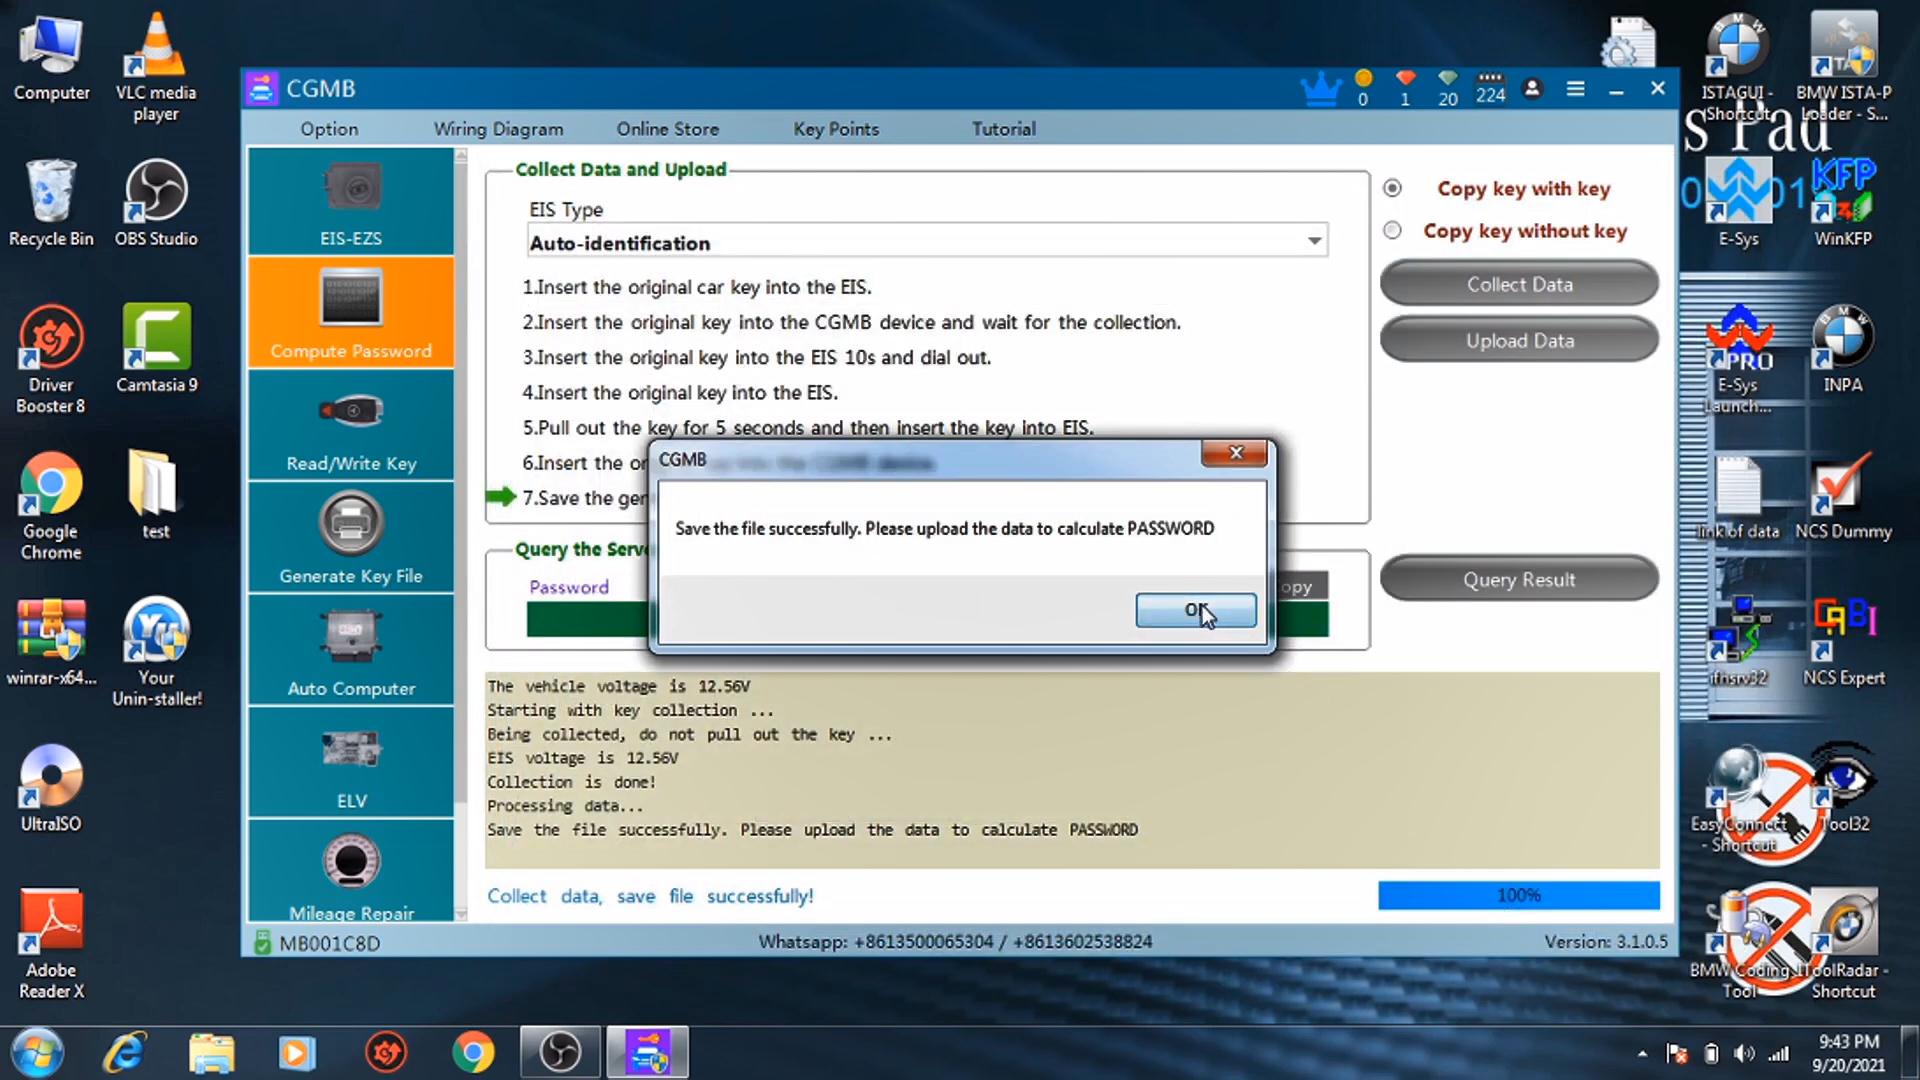
Save the file successfully, please upload the data to calculate password.
Click on “Upload Data”
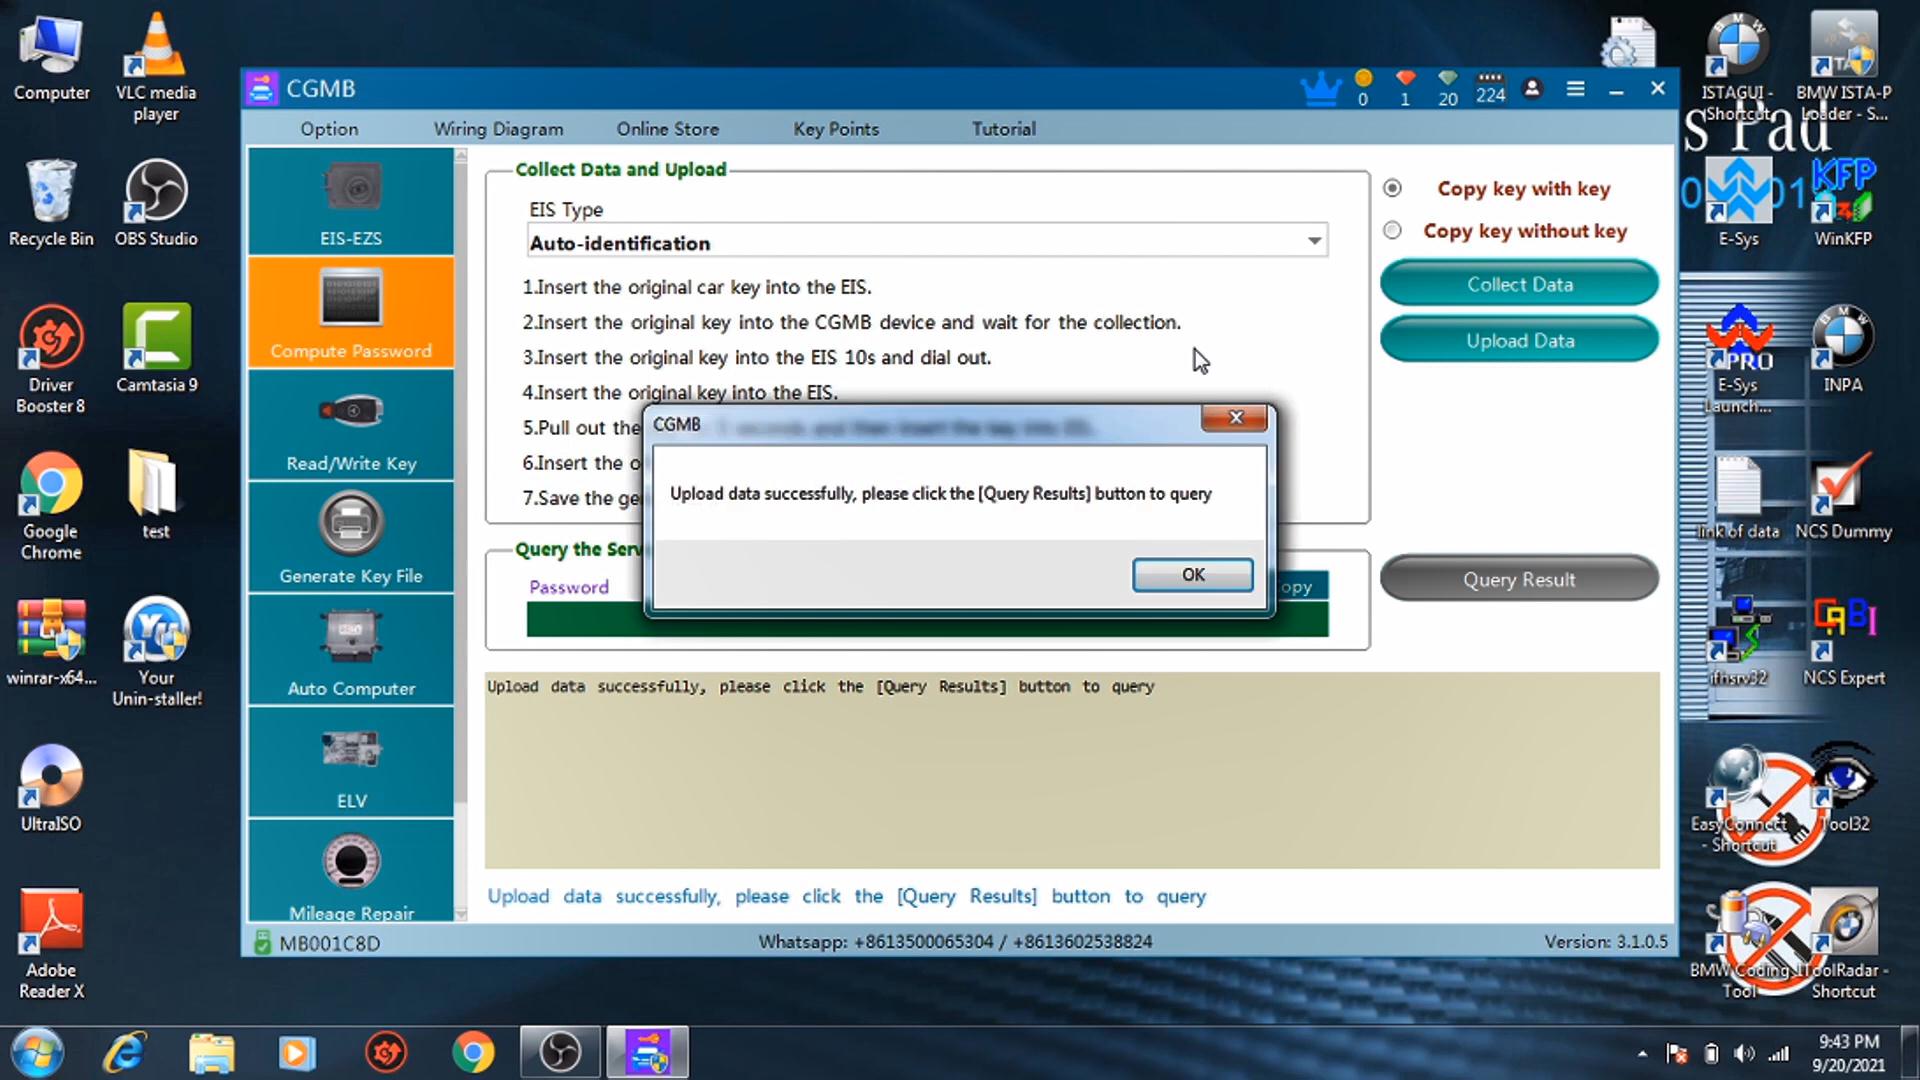
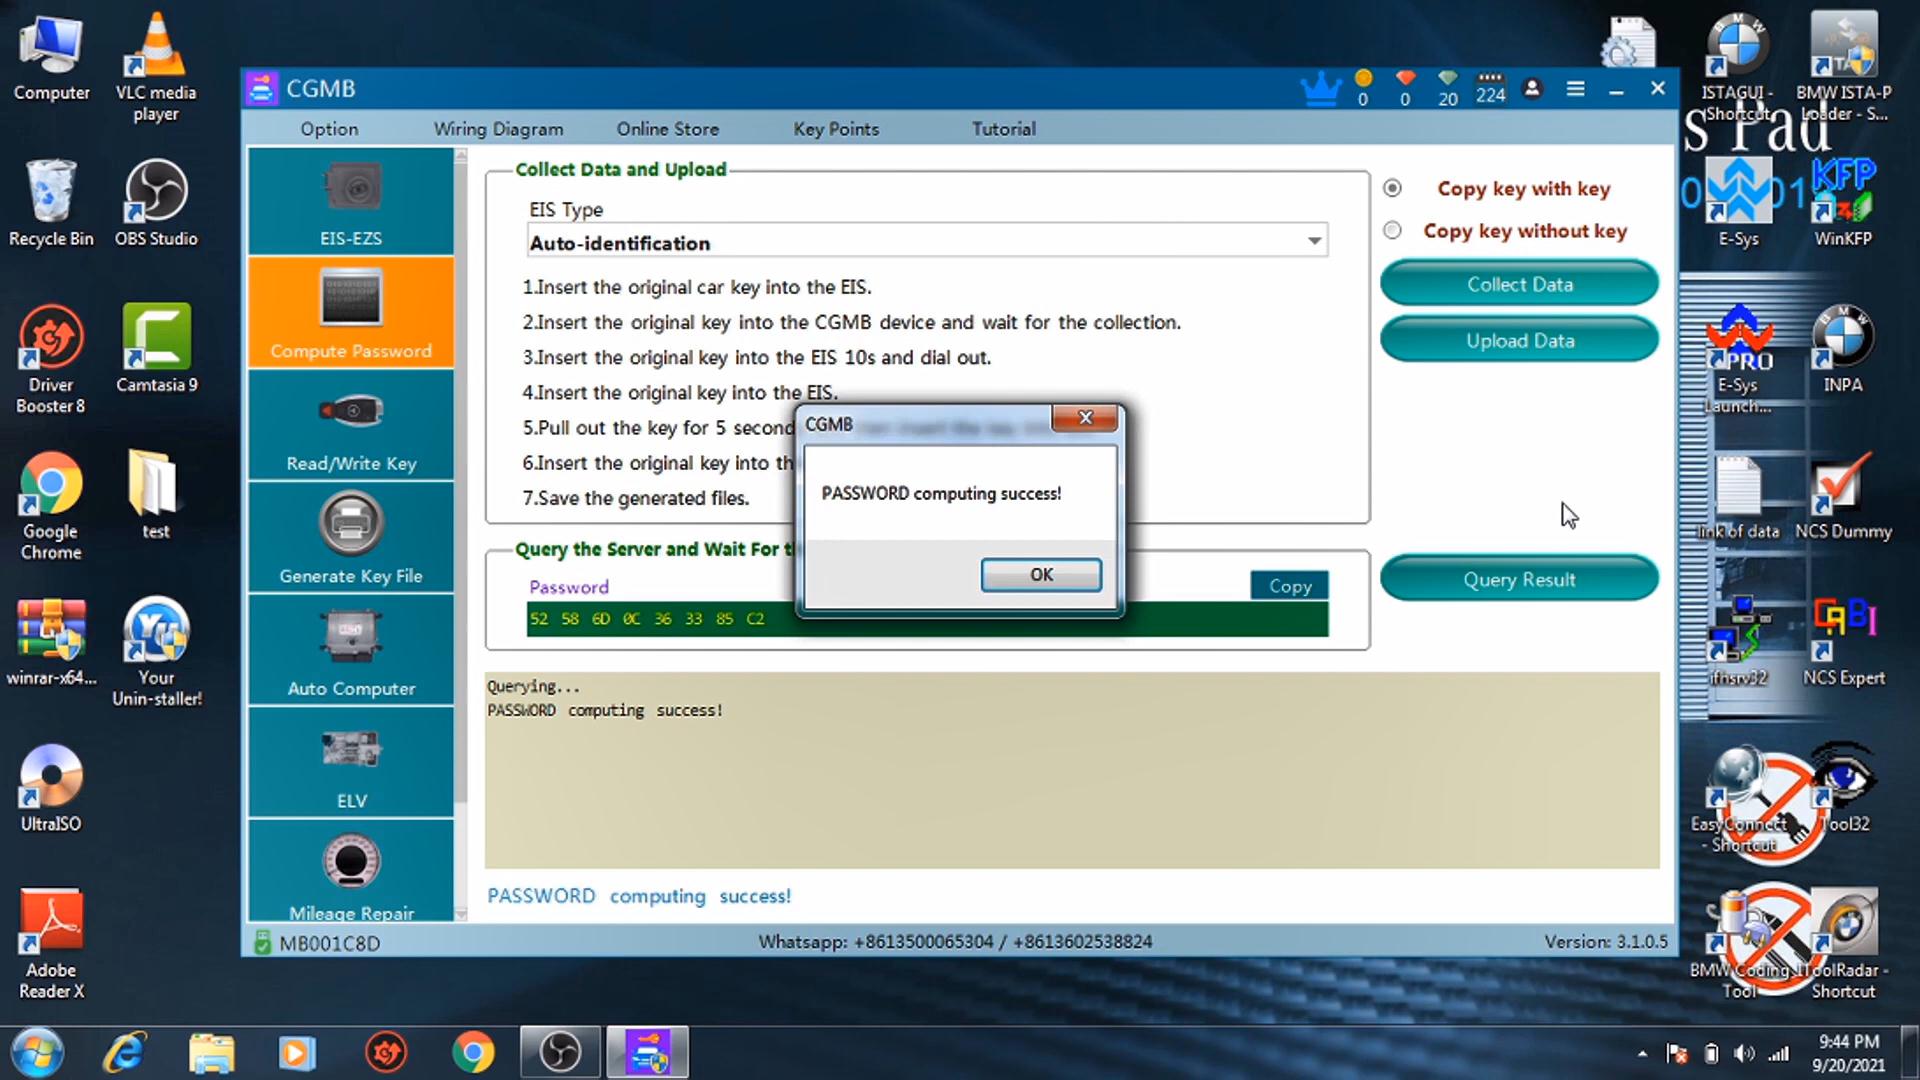
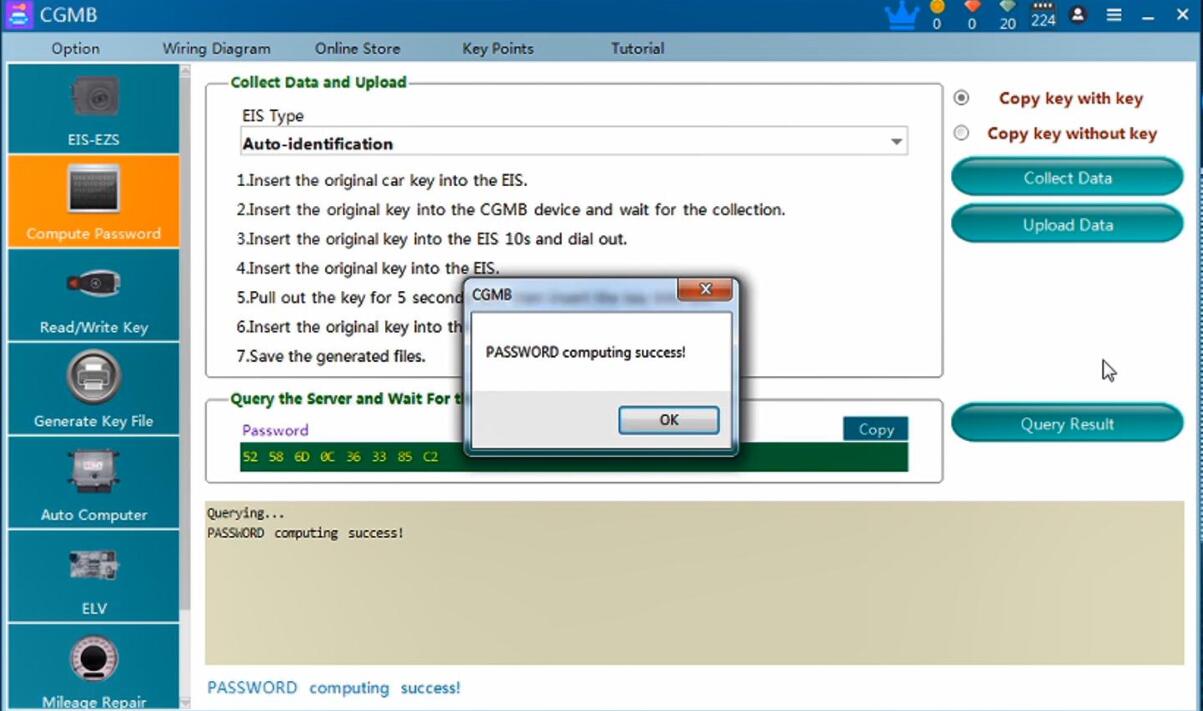
Click on “Query Result”, wait until it says “PASSWORD computing success!”
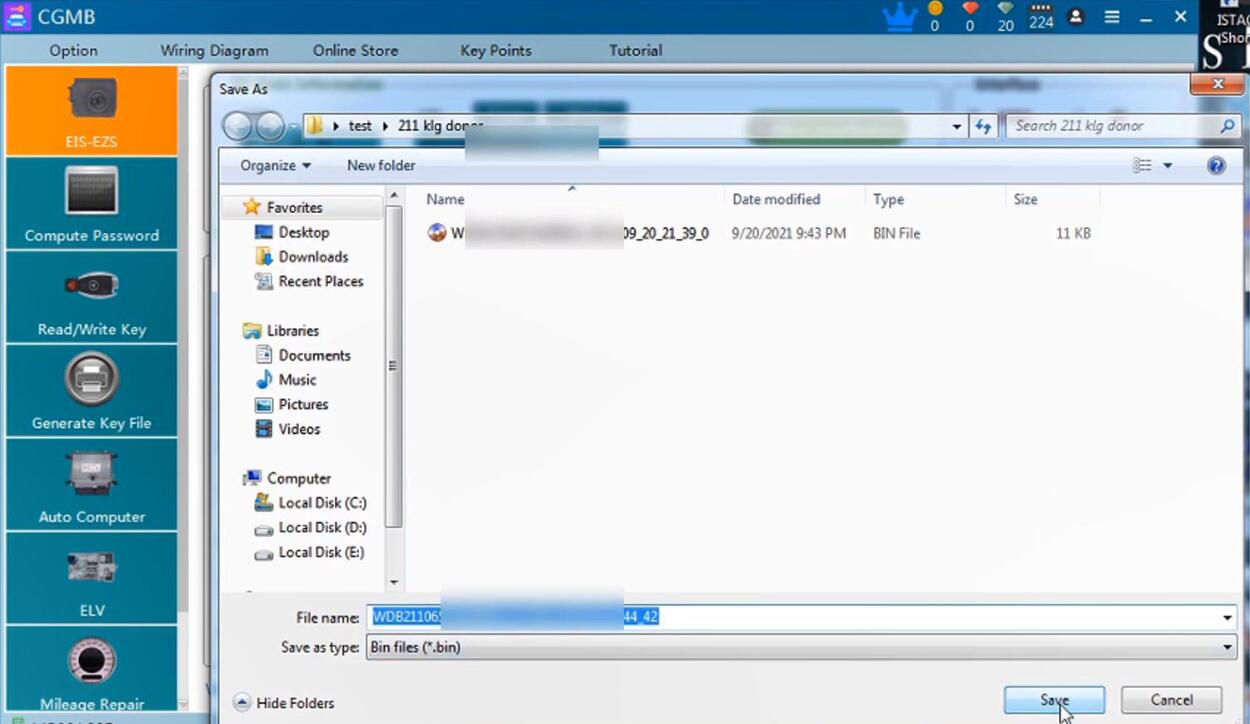
Back to “EIS-EZS” and then click on “Save EIS Data”.
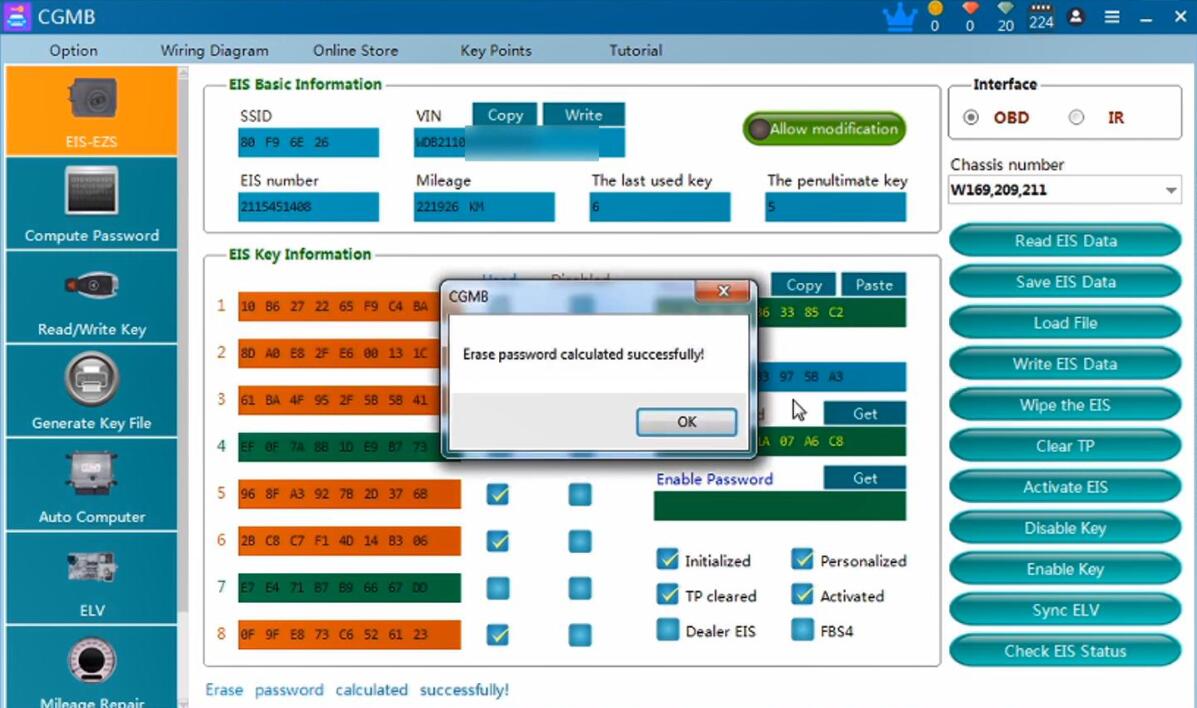
Click on “Get” (password), it pops up “Connecting to server”, wait until it says “Erase password calculated successfully!”.
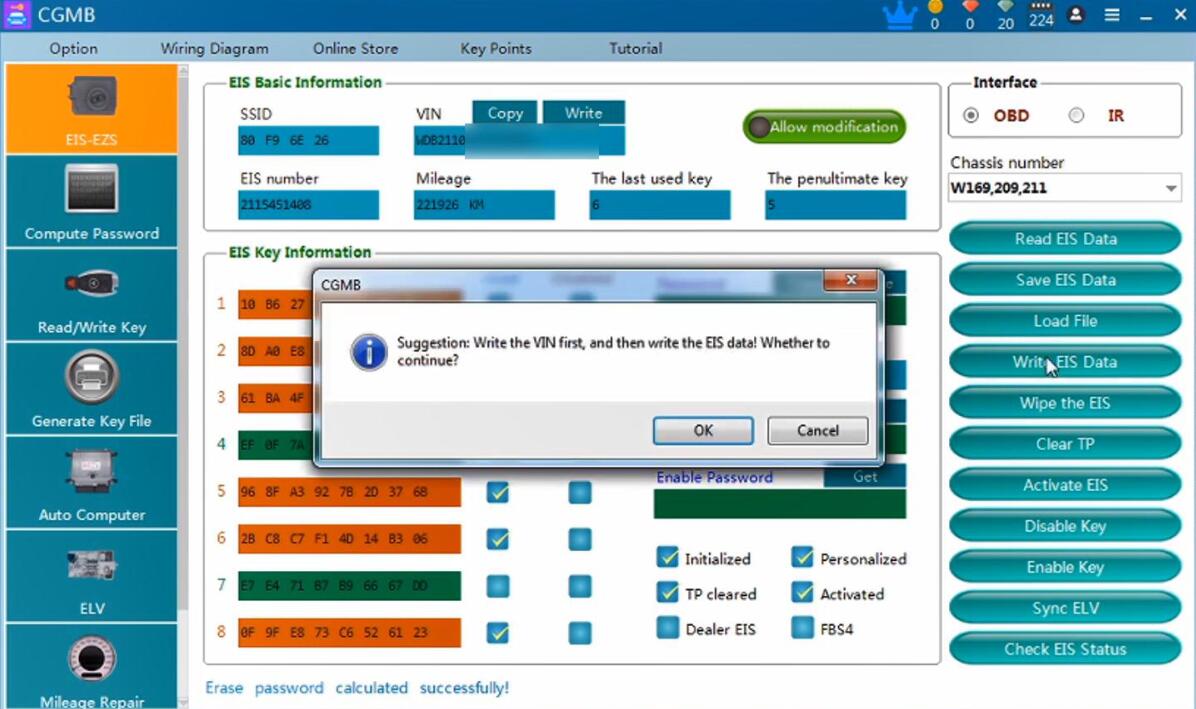
Click on “Write EIS Data” and it says “Suggestion: write the VIN first and then write the EIS data! Whether to continue?”, click on “OK”.
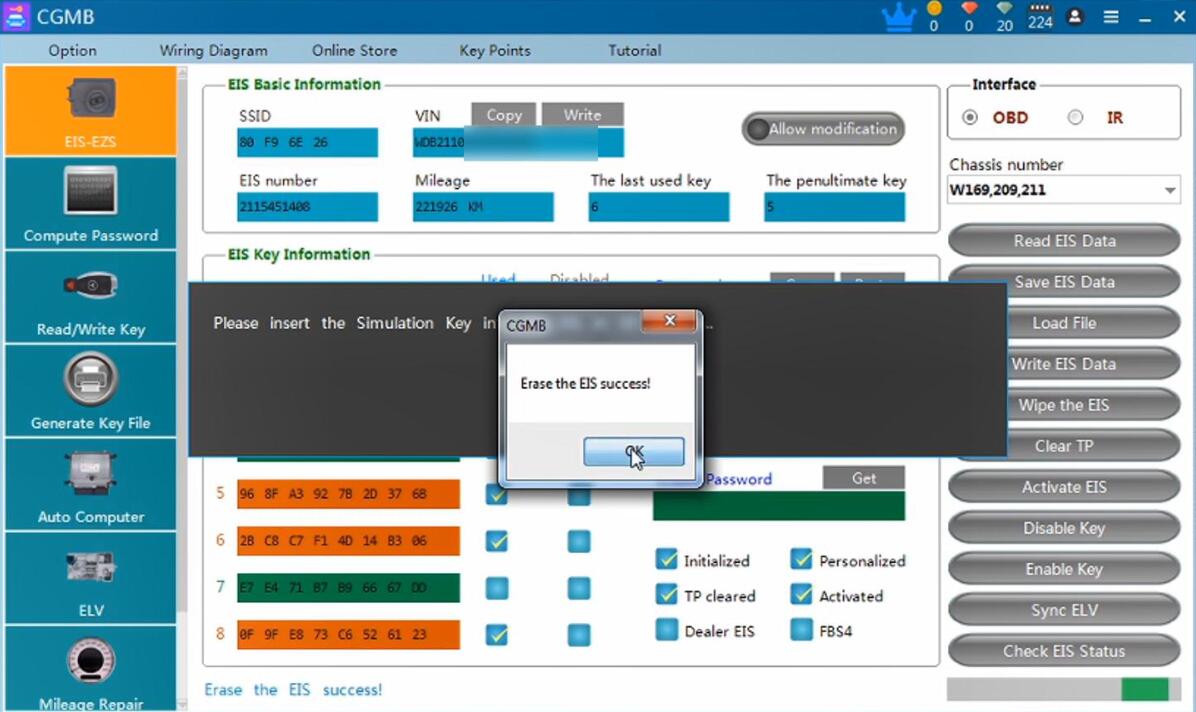
It says “Write EIS data failed!”. Then click on “Wipe the EIS”.
Please insert the Simulation key into the EIS in 30 seconds.
Erase the EIS success!

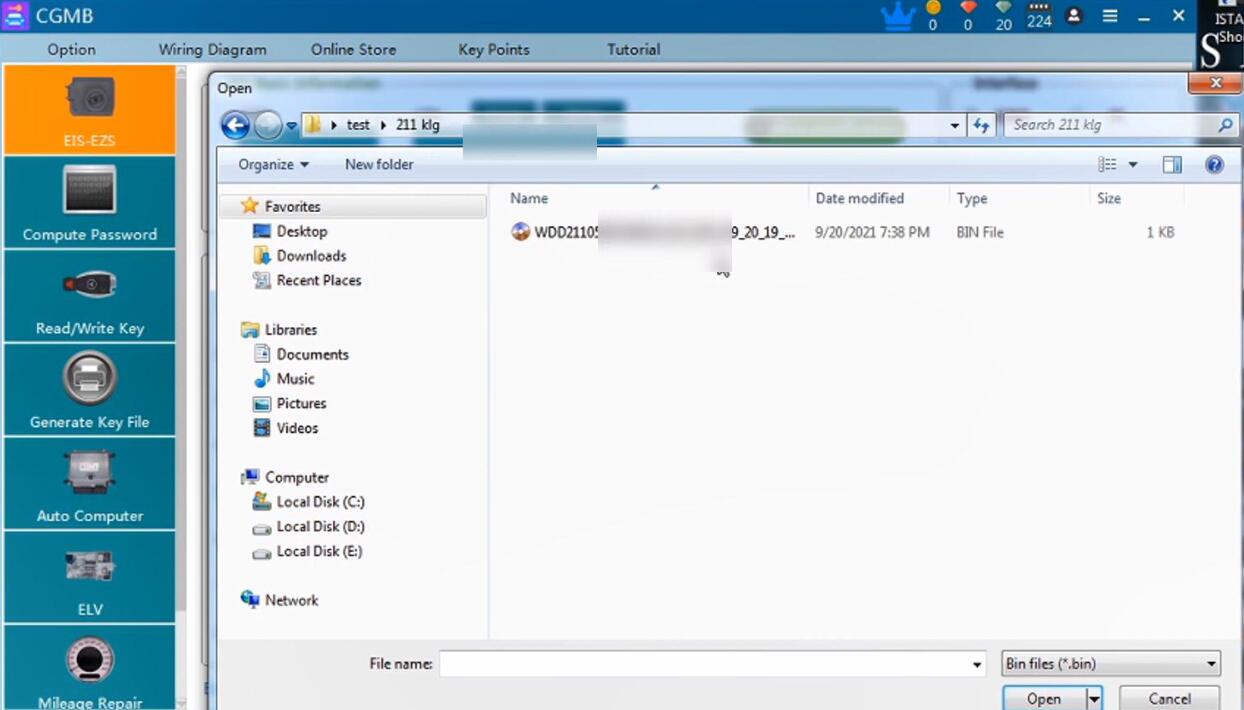
Click on “Load File”.
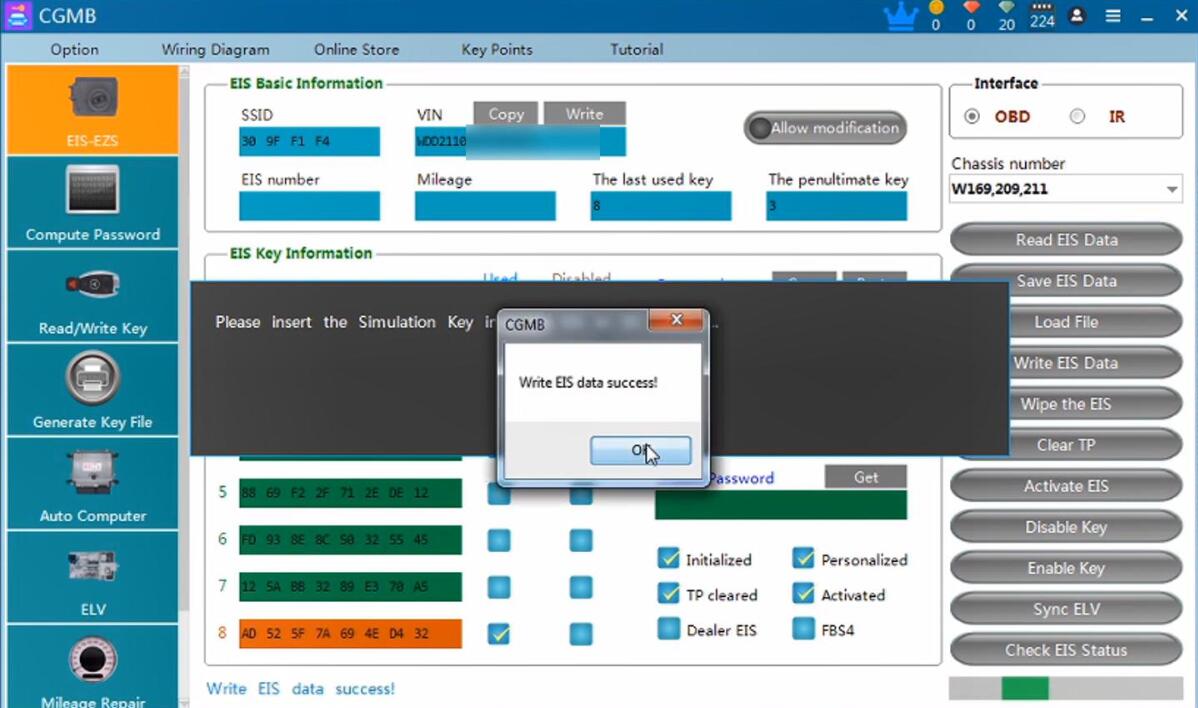
Click on “Write EIS Data”
Write EIS data success!
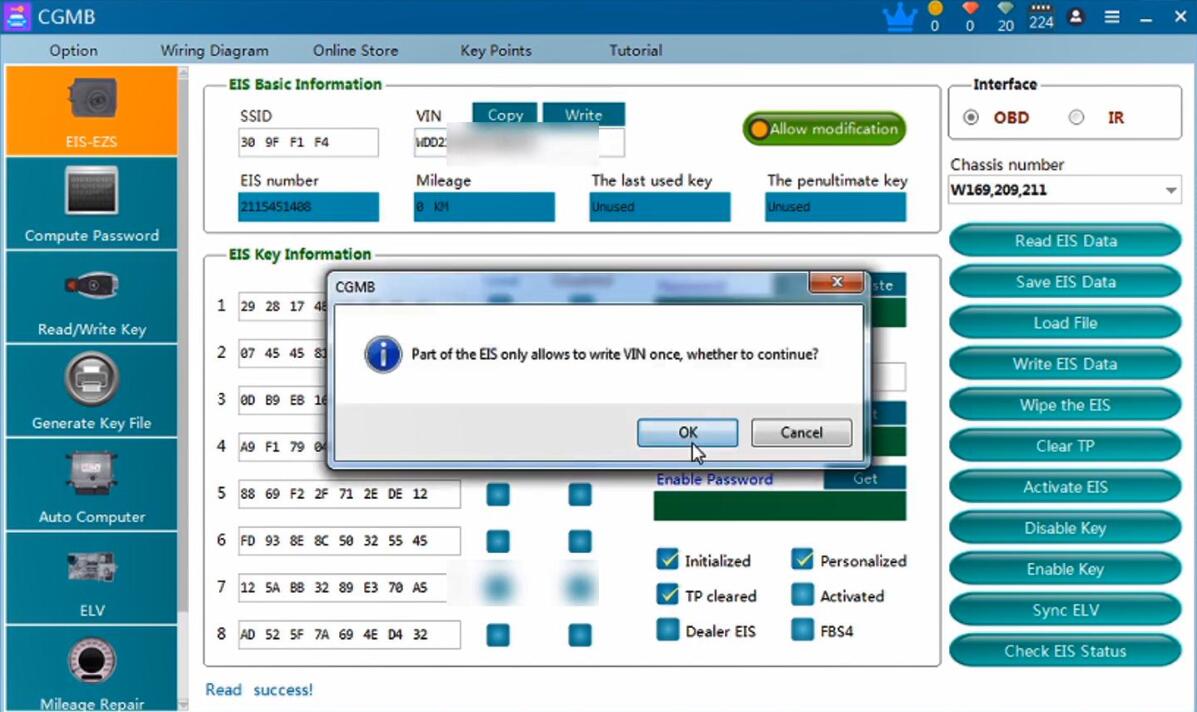
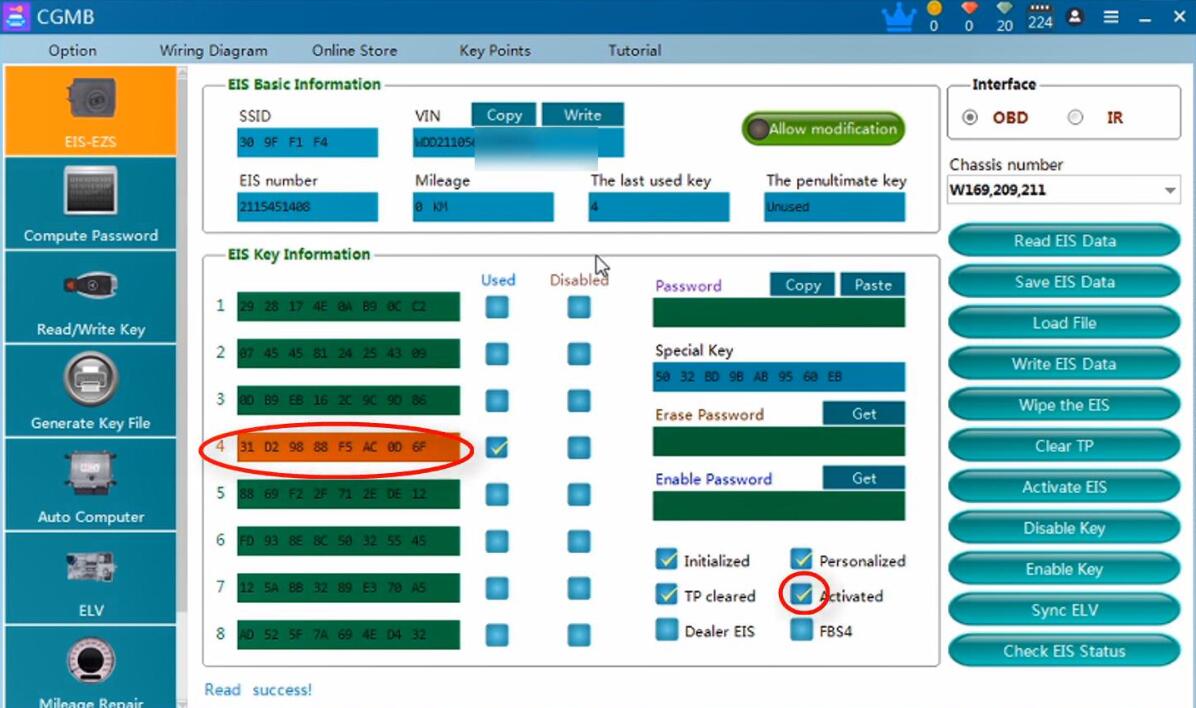
Click on “Read EIS Data” until it says read success!
Part of the EIS only allows to write VIN once.
Write VIN success!
Again, click on “Read EIS data” until it says read success!
Click on “Load File”.
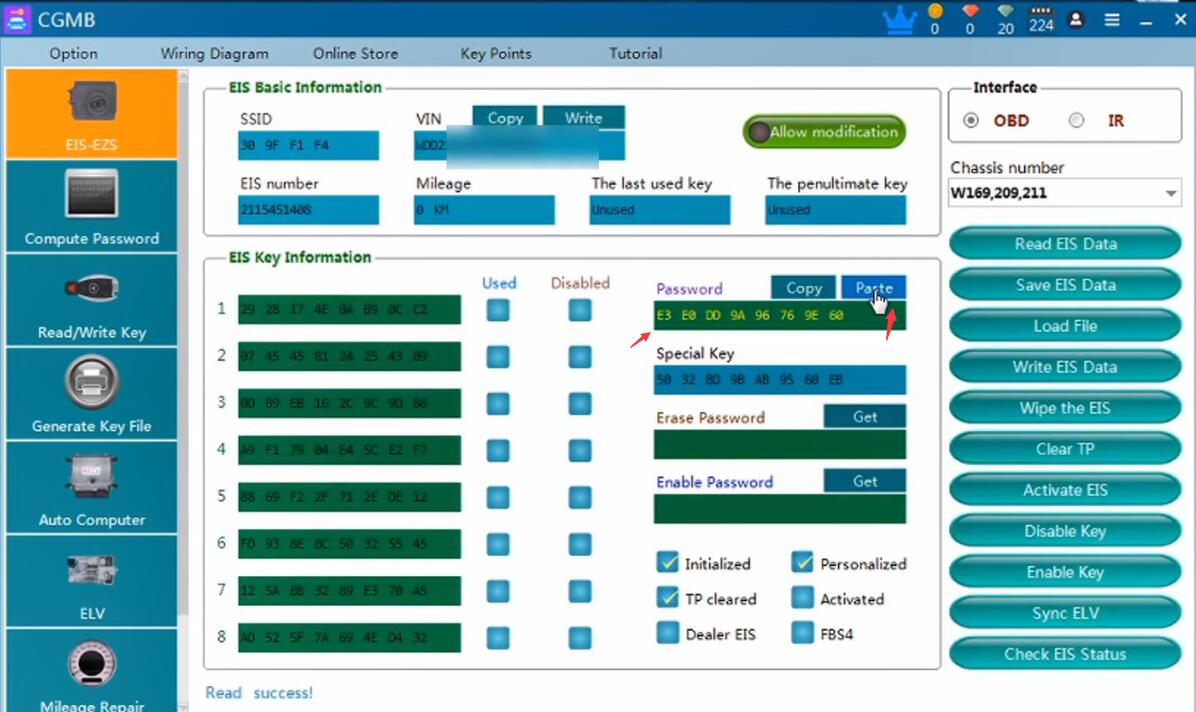
Again, click on “Read EIS data”
Click on “Password” to have the password shown.
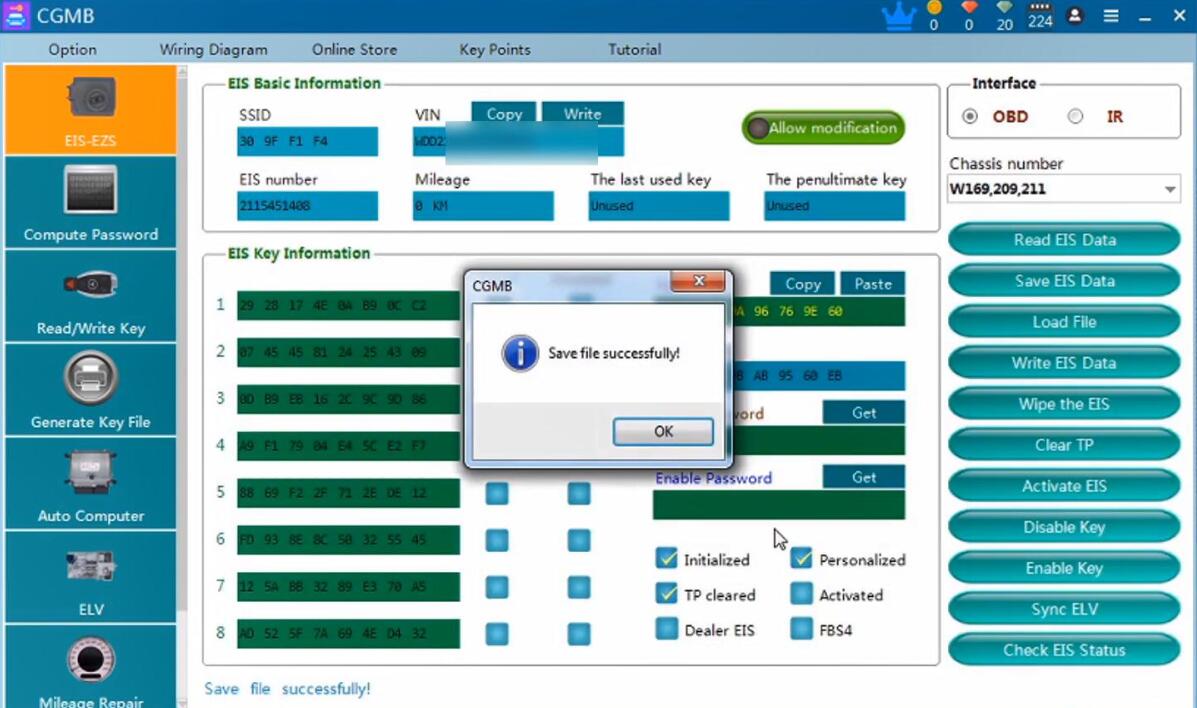
Then “Save EIS Data” to create a new folder, it says “Save file successfully”.
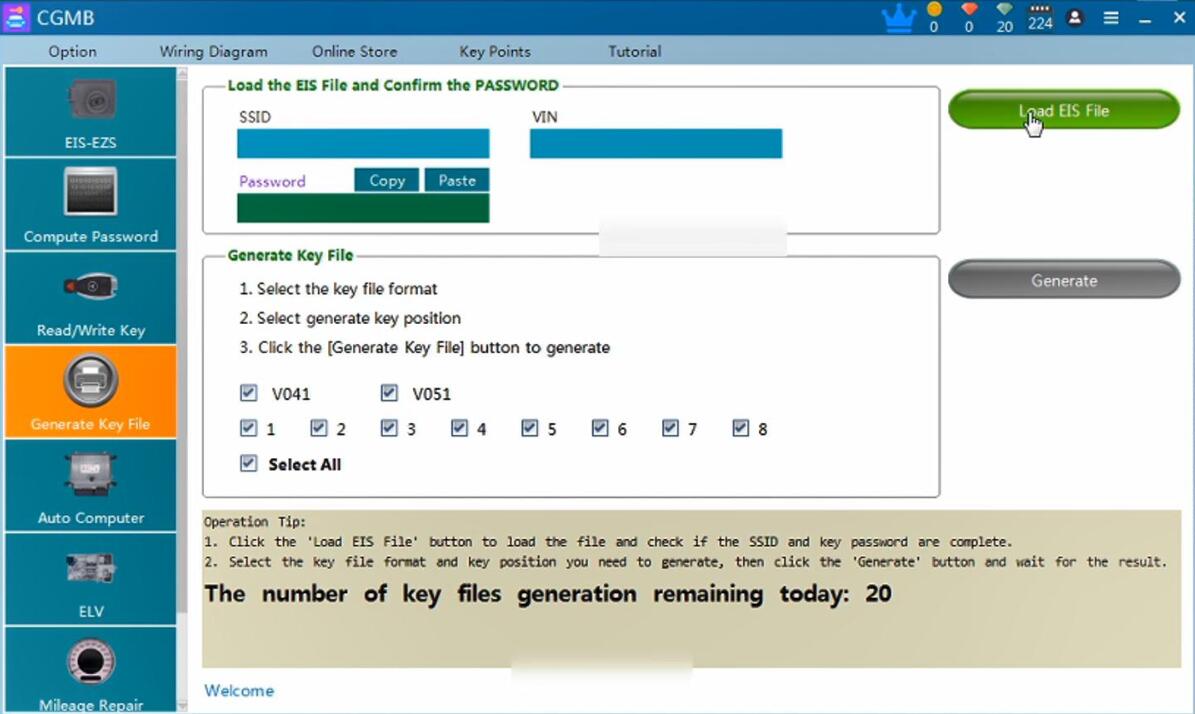
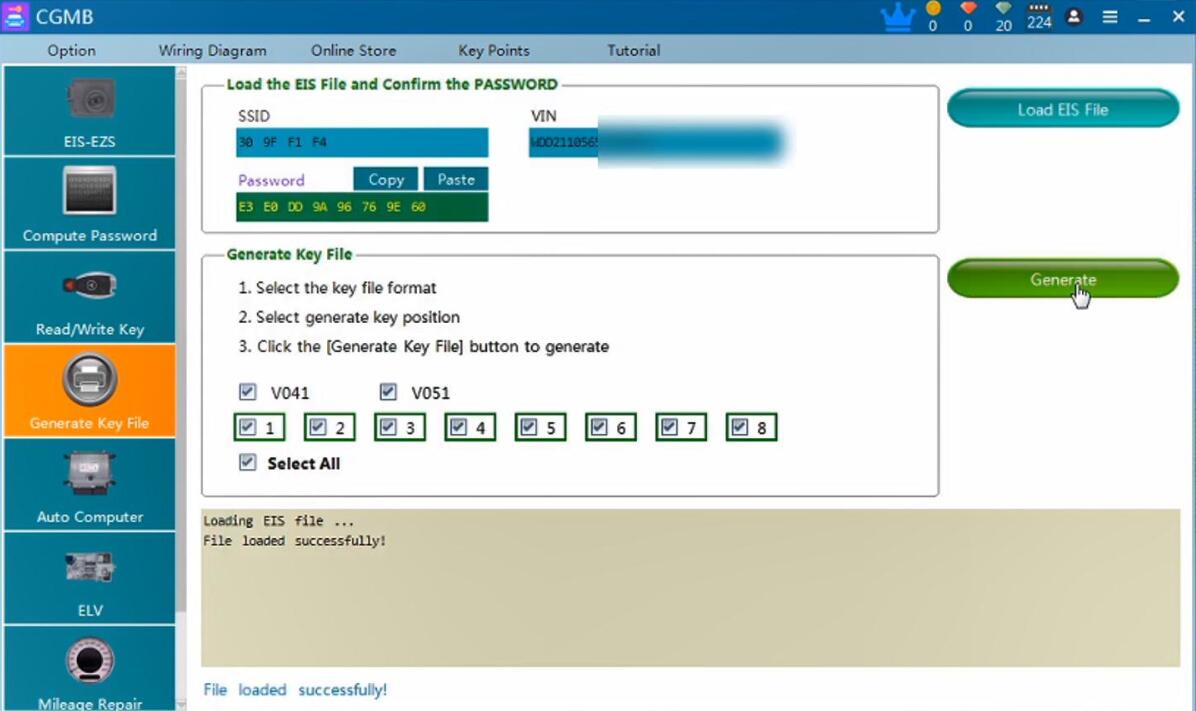
Click on “Generate Key File” and then “Load EIS File” to select the EIS file and then click on “Generate” until key file generated successfully!
Click on “EIS-EZS” and then “Read EIS Data” again.
Alright, CGDI MB did a good job!