


I purchased the CGDI prog MB two weeks ago. It’s a good key programmer for Benz owners. All the goods I received including CGDI MB Multiplexer, NEC Key/ IR Adapter, OBD & USB cables which shipped from UK without Tax.
First simply sum up what it can do:
Add Benz car key fast
Support MB all keys lost
Calculate the password online
Work with BE key and original key
Support more old Mercedes cars key programming by OBD
I also impressed with the special functions it brings:
Support ECU renew on these models at present:
ME9.7, MED17, CR3.xx, CR4.xx, CR5, CR60.xx, CRD.11, CRD2.xx, SIM266, SIM271DE2.0, SIM271KE2.0, SIM4LE, SIMELKE
Support Gearbox Renew on EGS 7G
I have used CGDI MB device for W202, W208, W210 mercedes 38 pin cars. Now share the test with you.
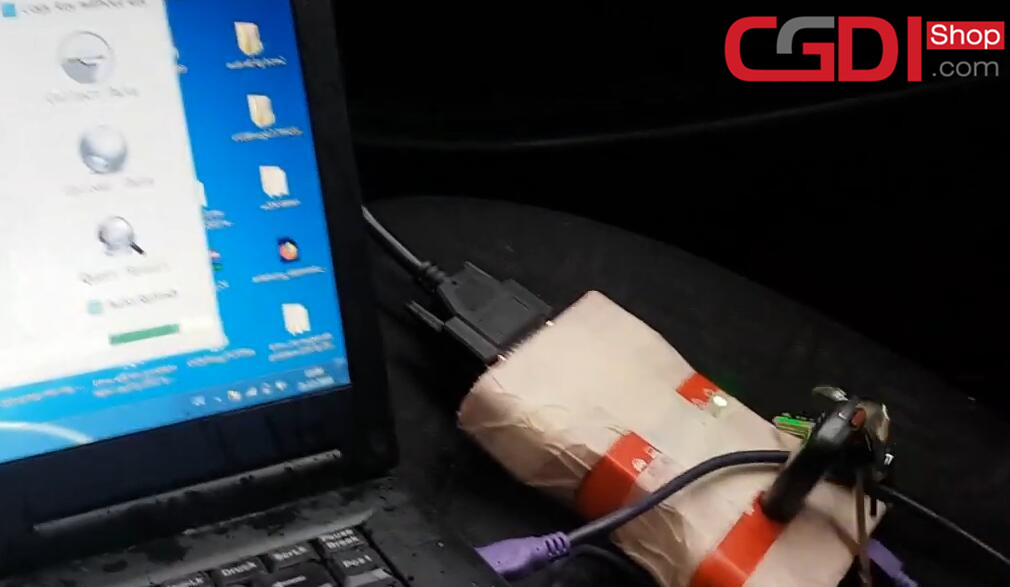
Firstly connect all the devices and keep the power voltage about 12V to 13V
Detailed procedure:
Step 1: Calculate Password
Insert the original car key into the EIS
Go to CGDI MB software
Select “EIS”–>”Read EIS Data” to display key info
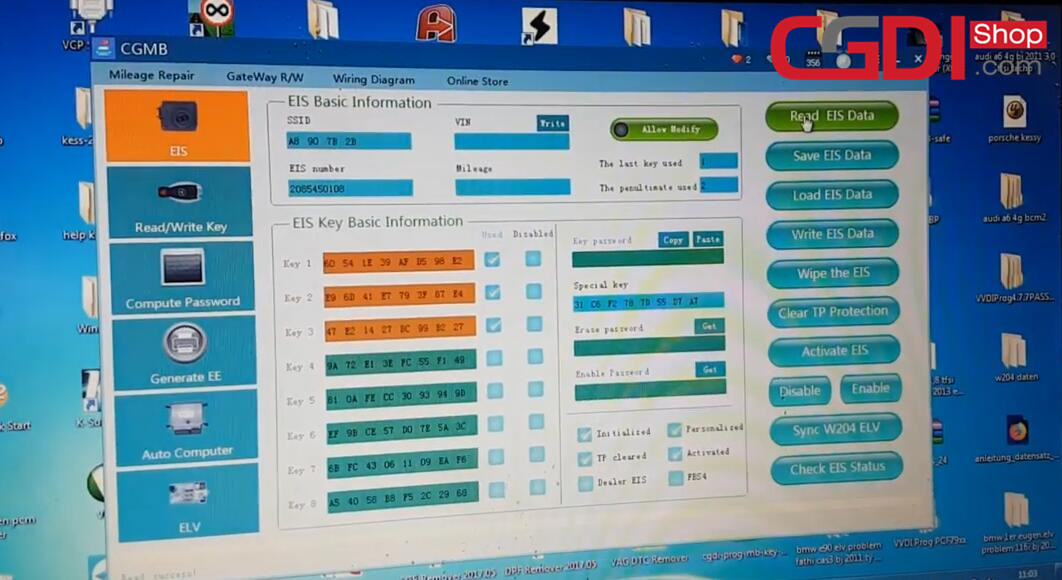
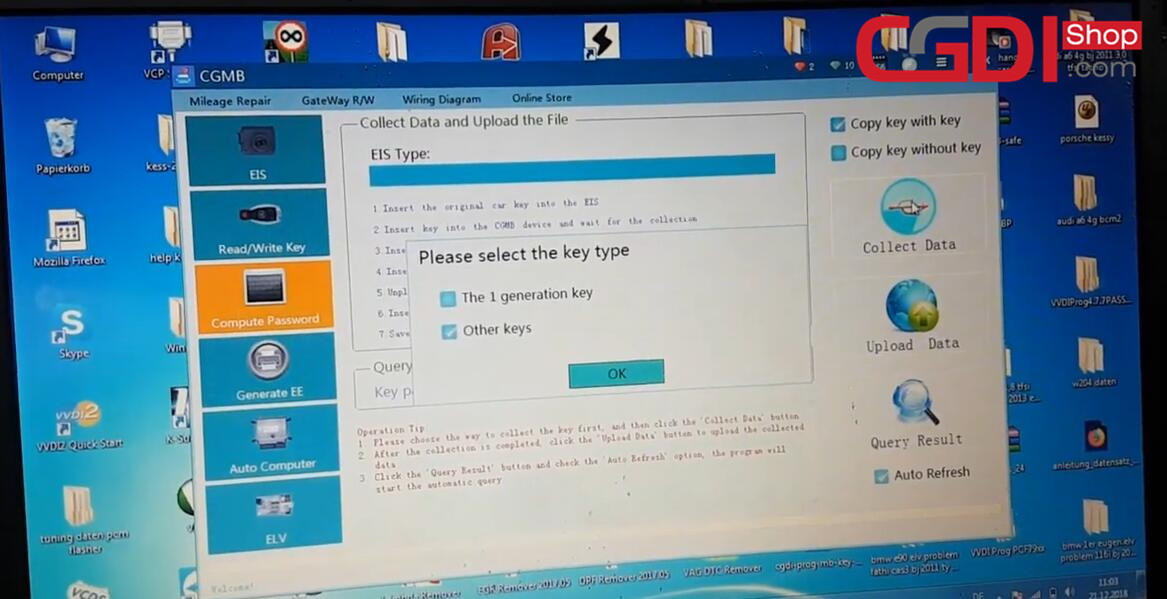
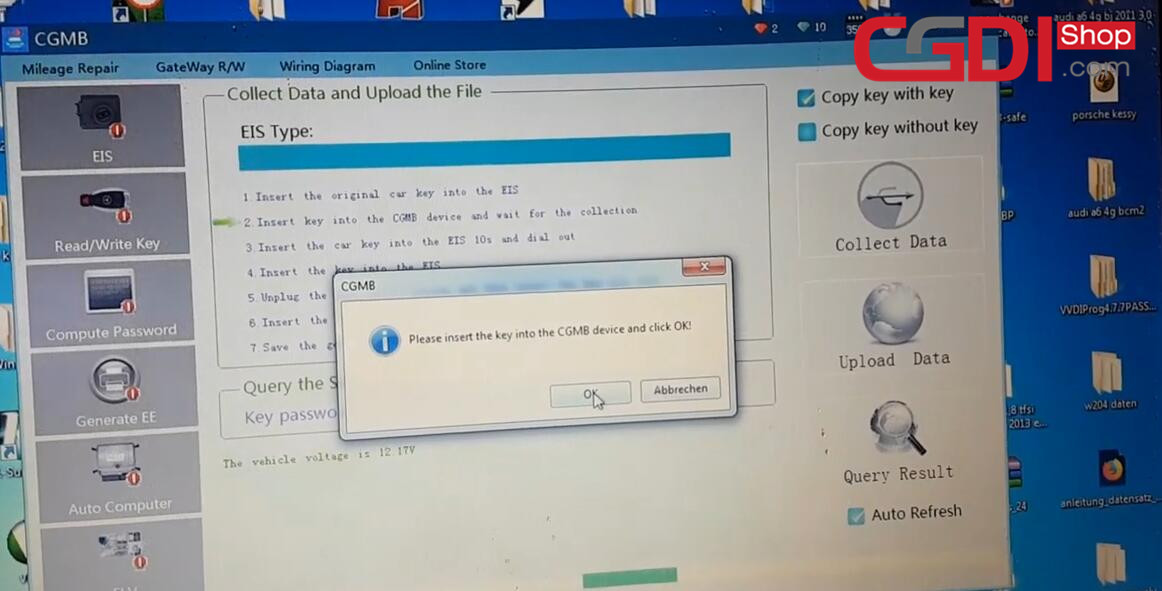
Select “Compute Password”–>”Copy key with key” –> Collect Data
Choose other key and then click “OK”
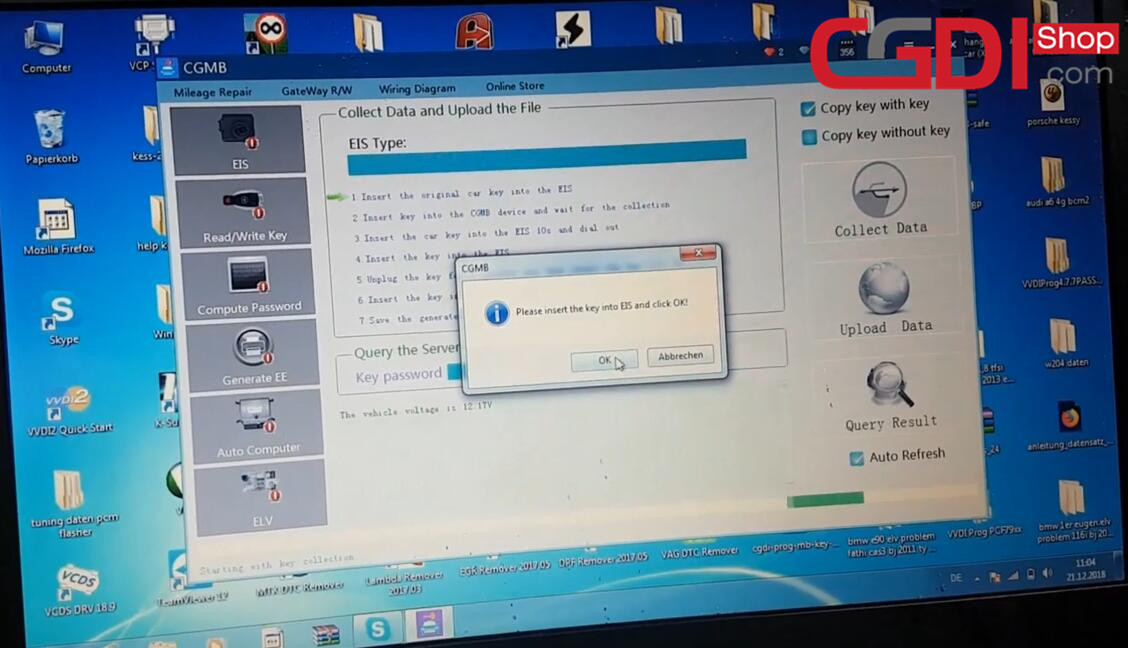
Insert the key into EIS and click “OK”
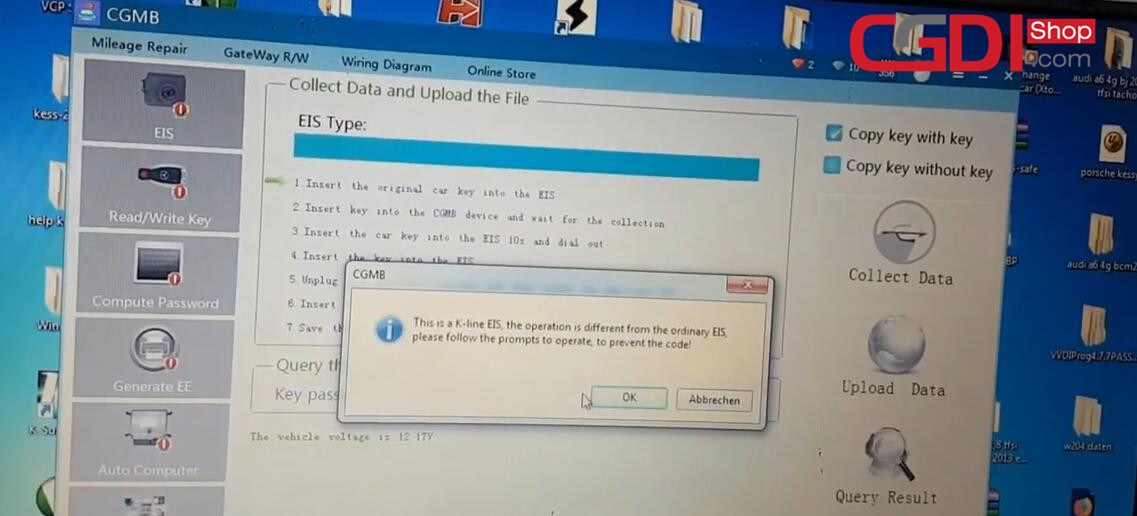
This is a -Kline EIS, the operation is different from the ordinary EIS, please follow the prompts to operate, to prevent the code!
Insert the Key into CGMB device and click “OK”
Wait until it prompt you to insert the key into EIS and click “OK”
And then wait patiently for 10 seconds


Then prompt you to make sure the key to the ON position and light the instrument? If you can’t, please pull out the key and try again, until you can normally twist and light the instrument and then click “OK”
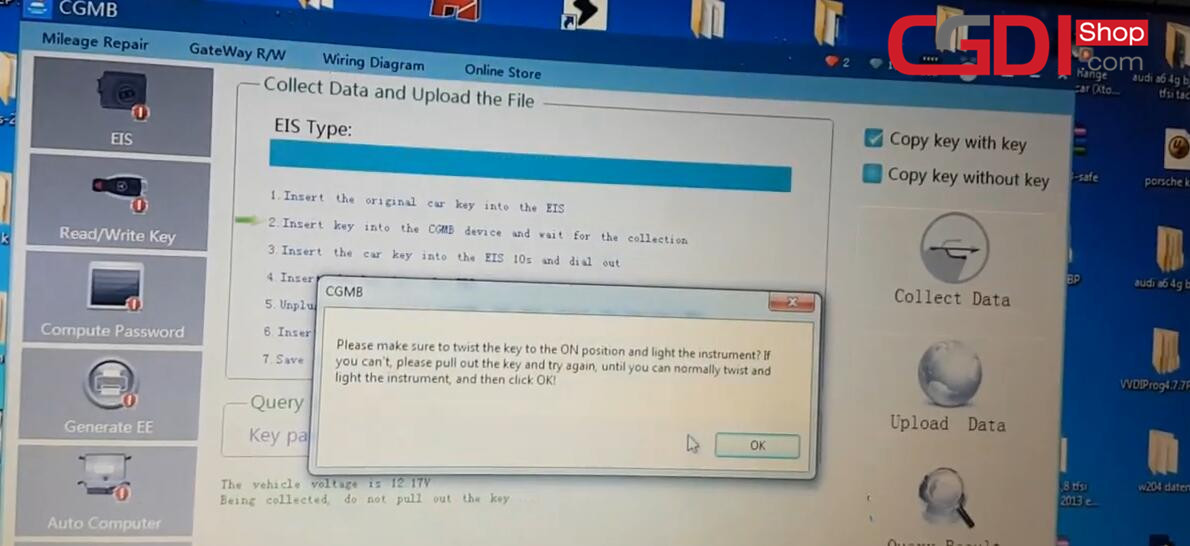
Insert the Key into CGMB device and click “OK”
Then need to insert the key into EIS again and click “OK”
Repeat all the steps follow the prompts
Insert the car key into the EIS 10s and pull out
Then insert the key into EIS again and click “OK”
Pull out the key and then insert into EIS
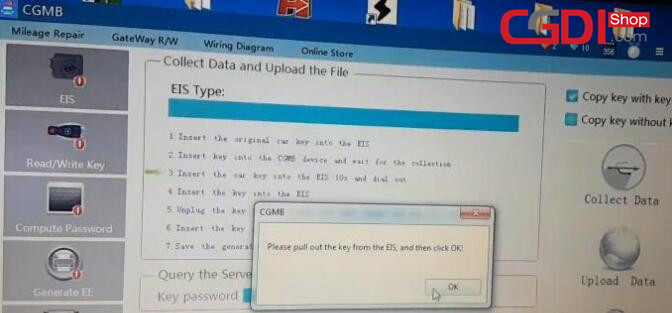
Follow the operation instructions until finish
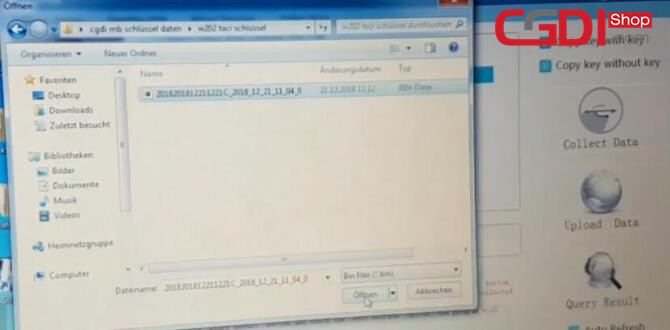
Now save the generated files

Save the files successfully, and then upload the data to calculate PASSWORD
Click “Upload Data” to upload the data file you saved just now
Upload data successfully, please click “Query Result” button to query
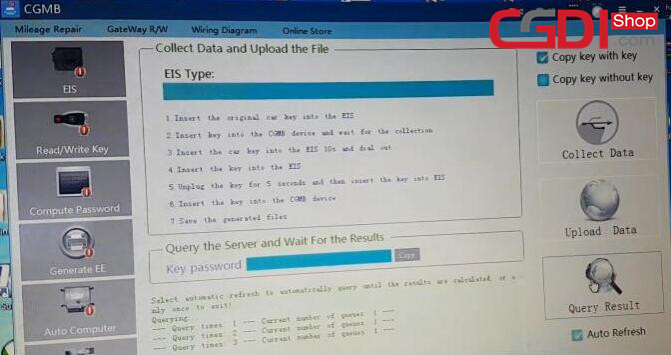
Note: Make sure the connection be stable
Computing success!
Step 2: Generate Key
Click “Copy” button to copy the password
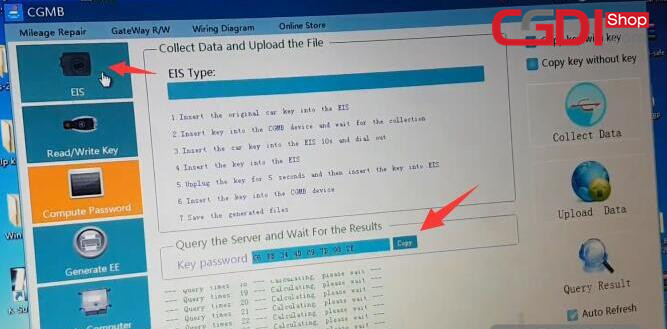
Select “EIS” menu and click “Paste” to paste key password
Save file successfully
Select “Generate EE”–>click “Load EIS File” to check EIS data information
Then click “Generate Key File”
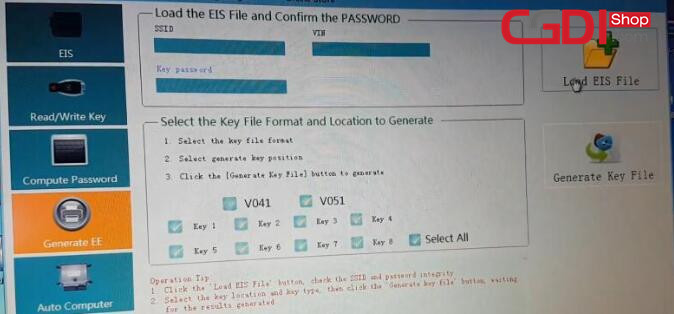
Generate the key successfully
Step 3: Program Key
Program key
Insert the new key into the CGDI MB programmer
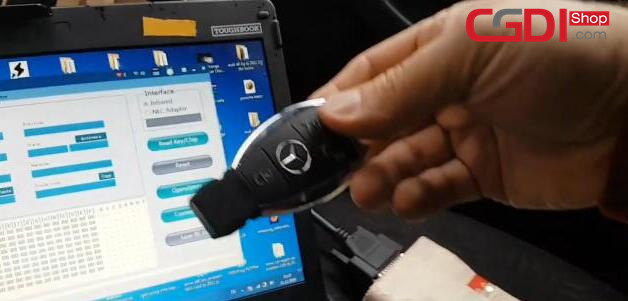
Select “Read/ Write Key”-> “Infrared”-> “Read Key/ Chip”
Click “Open/Write” button
Note: Smart key please choose 41 format, common key and BE key please choose 51 format! When writing the original key, please make sure that it is wiped by the CGMB, otherwise the write will fail!
Select an unused key file to write data
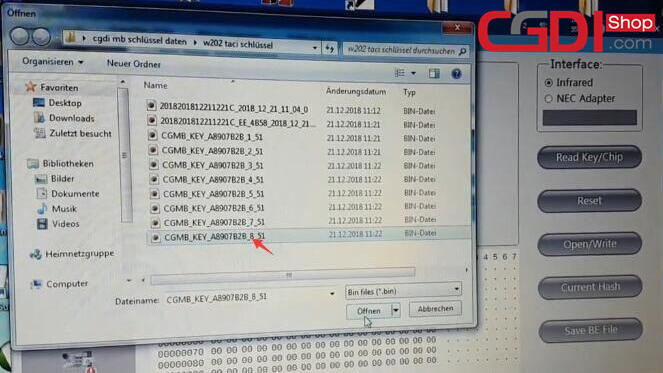
Write success
Step 4: Test Key
Insert the key into Benz EIS to test, it can light instrument and start the engine
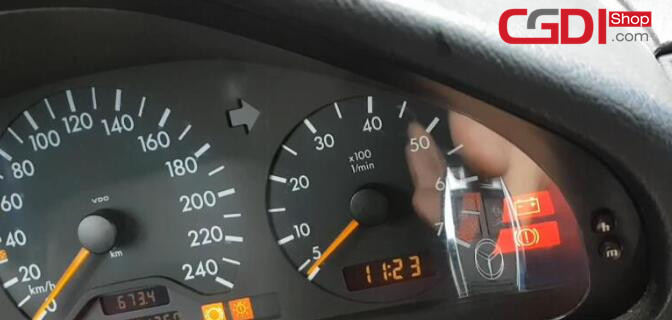

Program key successfully!
Done!